Faceplate mechanism Version 2
Iron Man Helmet Motorised faceplate mechanism Version 2
This page is about my second version of the motorised faceplate, check out the main project index for the rest.
Here’s some information on how I motorised my Iron Man faceplate. There are a couple of YouTube videos showing the mechanics being built, and dealing with programming the servo.


Since my first attempt at a motorised Iron Man Helmet faceplate mechanism, I’ve acquired a 3D printer, and used it extensively for my Android 12 project. For this mechanism I am 3D printing most of the mechanical parts and trying to reduce the servo count to one. You could of course make similar parts by hand out of sheet material and so on.
I’m using a fiberglass cast of the helmet this time which will be much more rigid than the previous Polyurethane one. I have one main hinge made from 3mm steel wire which will hinge upwards through the two slots in the top of the helmet which are a feature of the design:
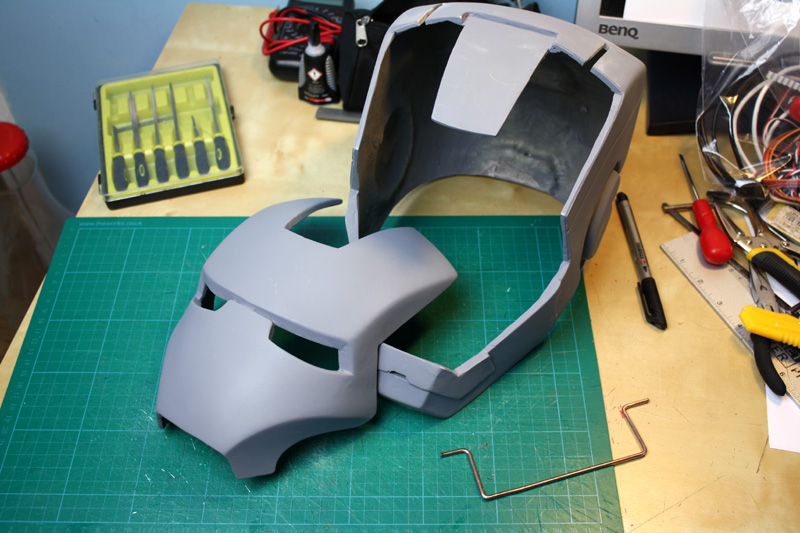

This hinge is one piece so it will ensure that the faceplate will stay square as it folds. I’ve designed a simple hinge block to allow the piece to rotate. The fronts of the wire hinge are held by two independent blocks which attach to the faceplate:


This makes one double ended hinge so that the faceplate can hinge backwards:


You can download the STL files for the 3D printed parts from my downloads page.
The next part is to make another double hinge at the front of the faceplate, which will be driven by the servo. I’ve also 3D printed these parts, although you could cut them from sheet material. This consists of a lever part and some tapered ‘hubs’ to mount it on:


These mounting hubs allow the piece to be glued to the inside of the helmet without drilling any holes for bolts:


Next comes a method of placing the servo where it physically fits, and having it actuate the lever. This will be done using a Bowden cable (like a bicycle brake cord in a tube), and mounting the servo in the chin where it’ll use a pulley to pull the cord. I’ve printed a bracket to hold it, as well as the end of the tube. The other end of the tube near the lever is held with another block:


You can download the STL files for the 3D printed parts from my downloads page.
The tube is PTFE 6mm outer/4mm inner diameter, and the cable is fishing line for catching sharks:


I’ve installed a spring at the top point of the lever as a ‘soft stop’ for the faceplate:


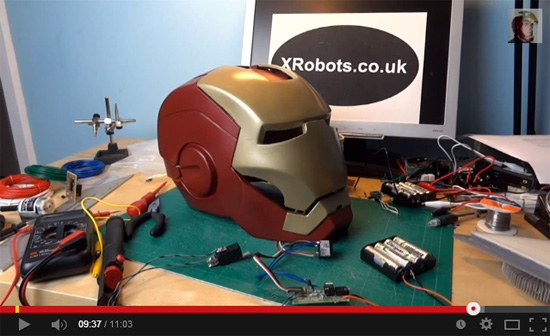
I painted the helmet:


I’ve used a Picaxe-08 proto board to build the electronics. You can see more about this in the second & third YouTube videos above..
You can get the manuals from the video here: Picaxe Manuals
You can find global Picaxe distibutors here: Picaxe distributors
The code I used in the video is here: faceplate.bas


I’ve made a new set of light up eye lenses that you can see through. These are similar to my previous version, but this time I’ve used clear acrylic sheet which I heated and formed in the oven, some automotive window tint, and some fabric to diffuse LED light across the lenses. I’ve used fifteen square cross-section LEDs in each lens:


Related Posts


About The Author
James Bruton
My name is James Bruton, I live in Southampton, UK. Please note that this is my personal project website, I have no products for sale, most of the information is provided so that you can have a go yourself... Read More